#
Databases
#
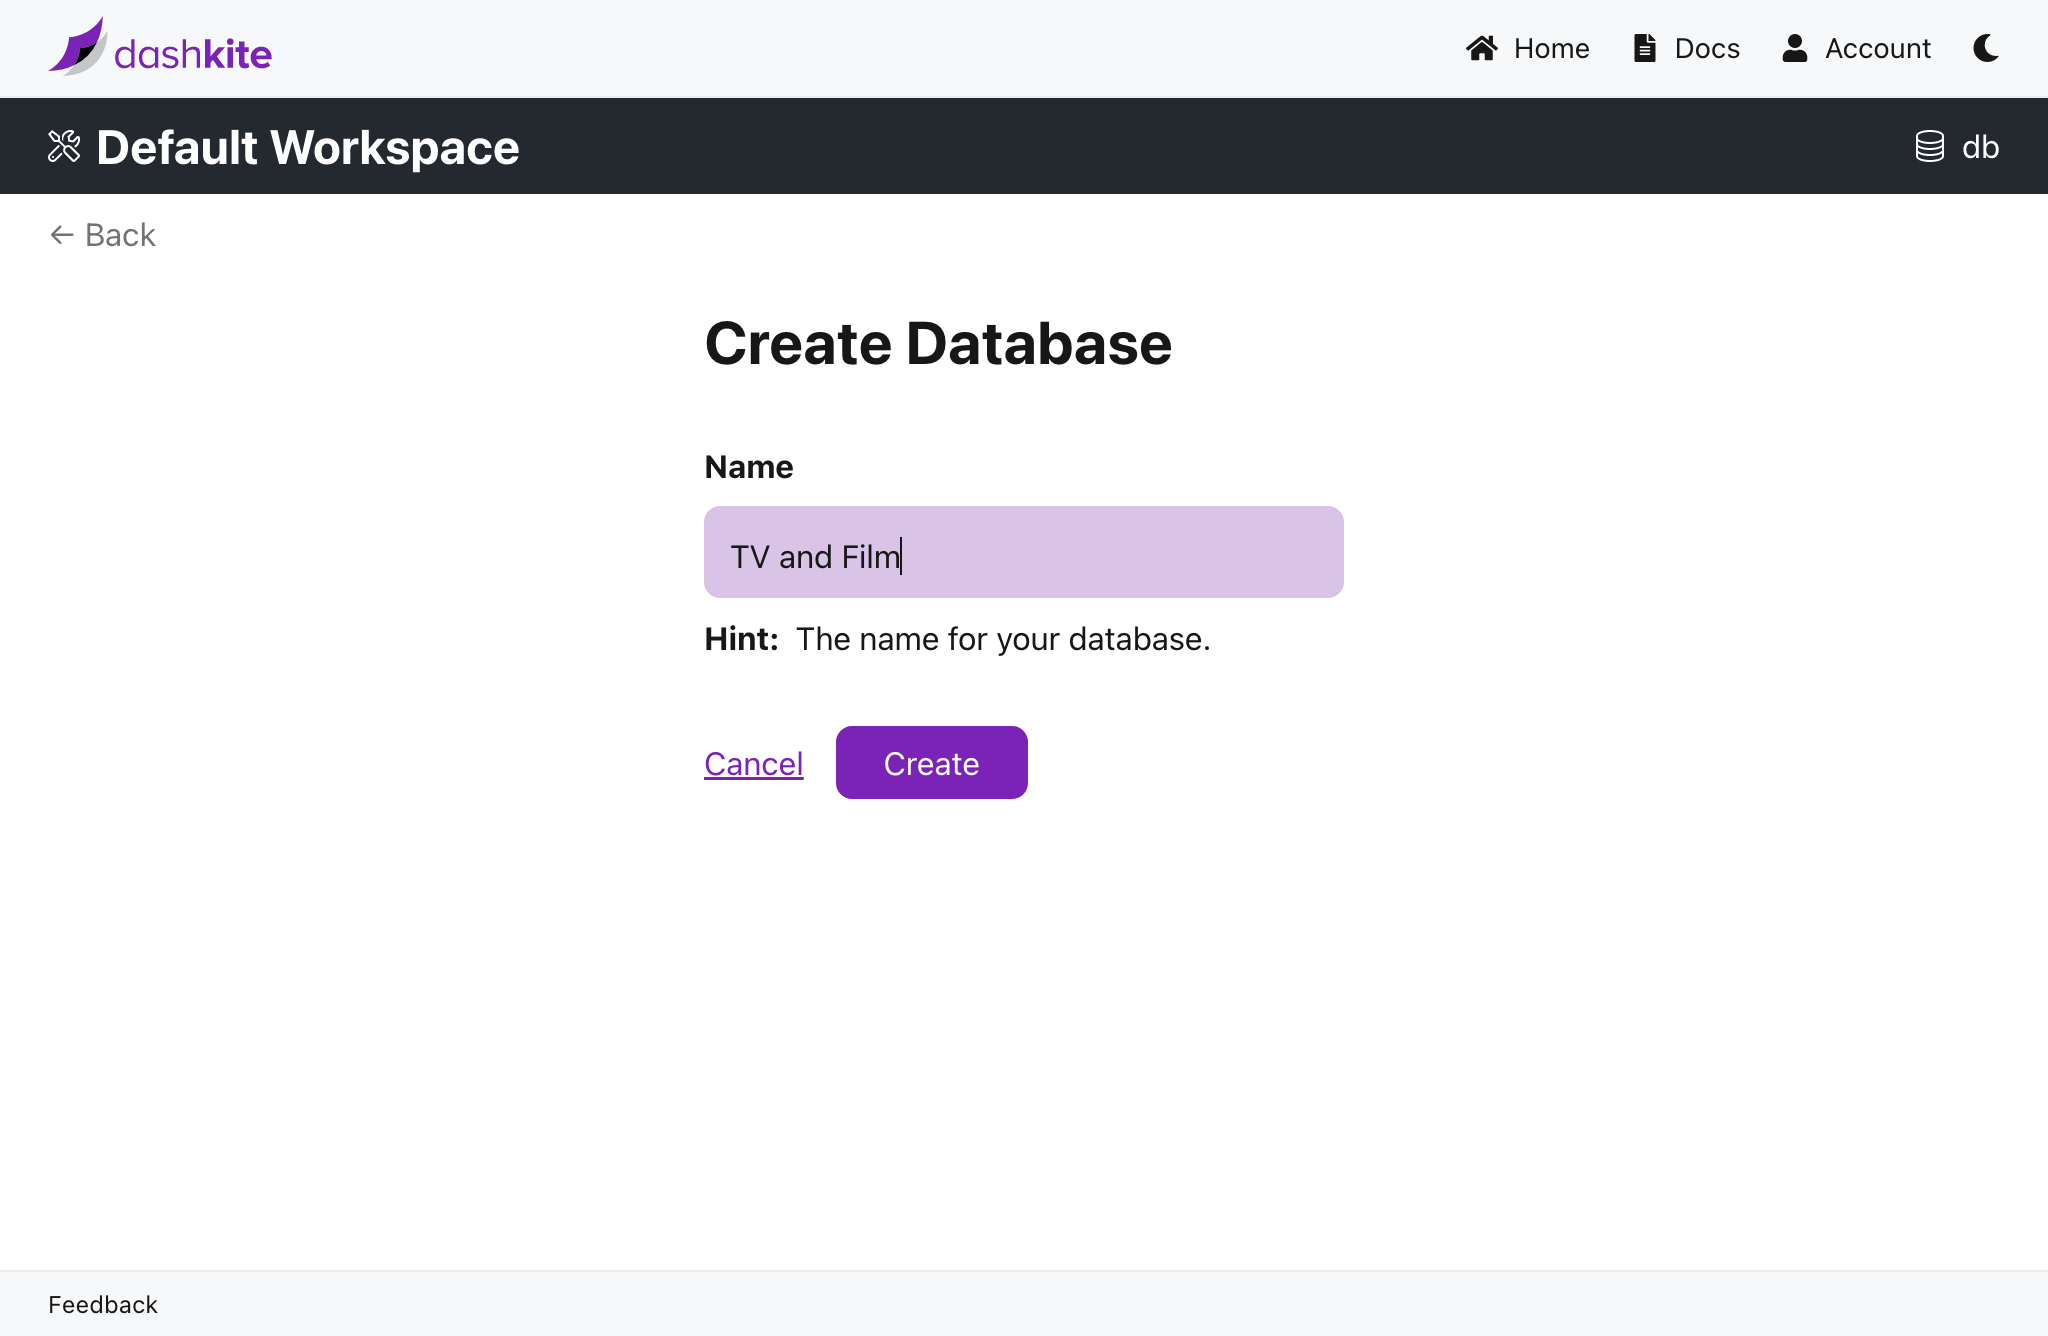
Creating A Database
- Navigate to a workspace and select DB.
- Select Add a DB.
- Enter a display name for the database. Ex:
films. - Select Create.
curl -XPOST 'https://db.dashkite.io/db' \
    -H "Authorization: {api-key}" \
    -H 'Content-Type: application/json' \
    -d '{ "name": "{name}" }'
#
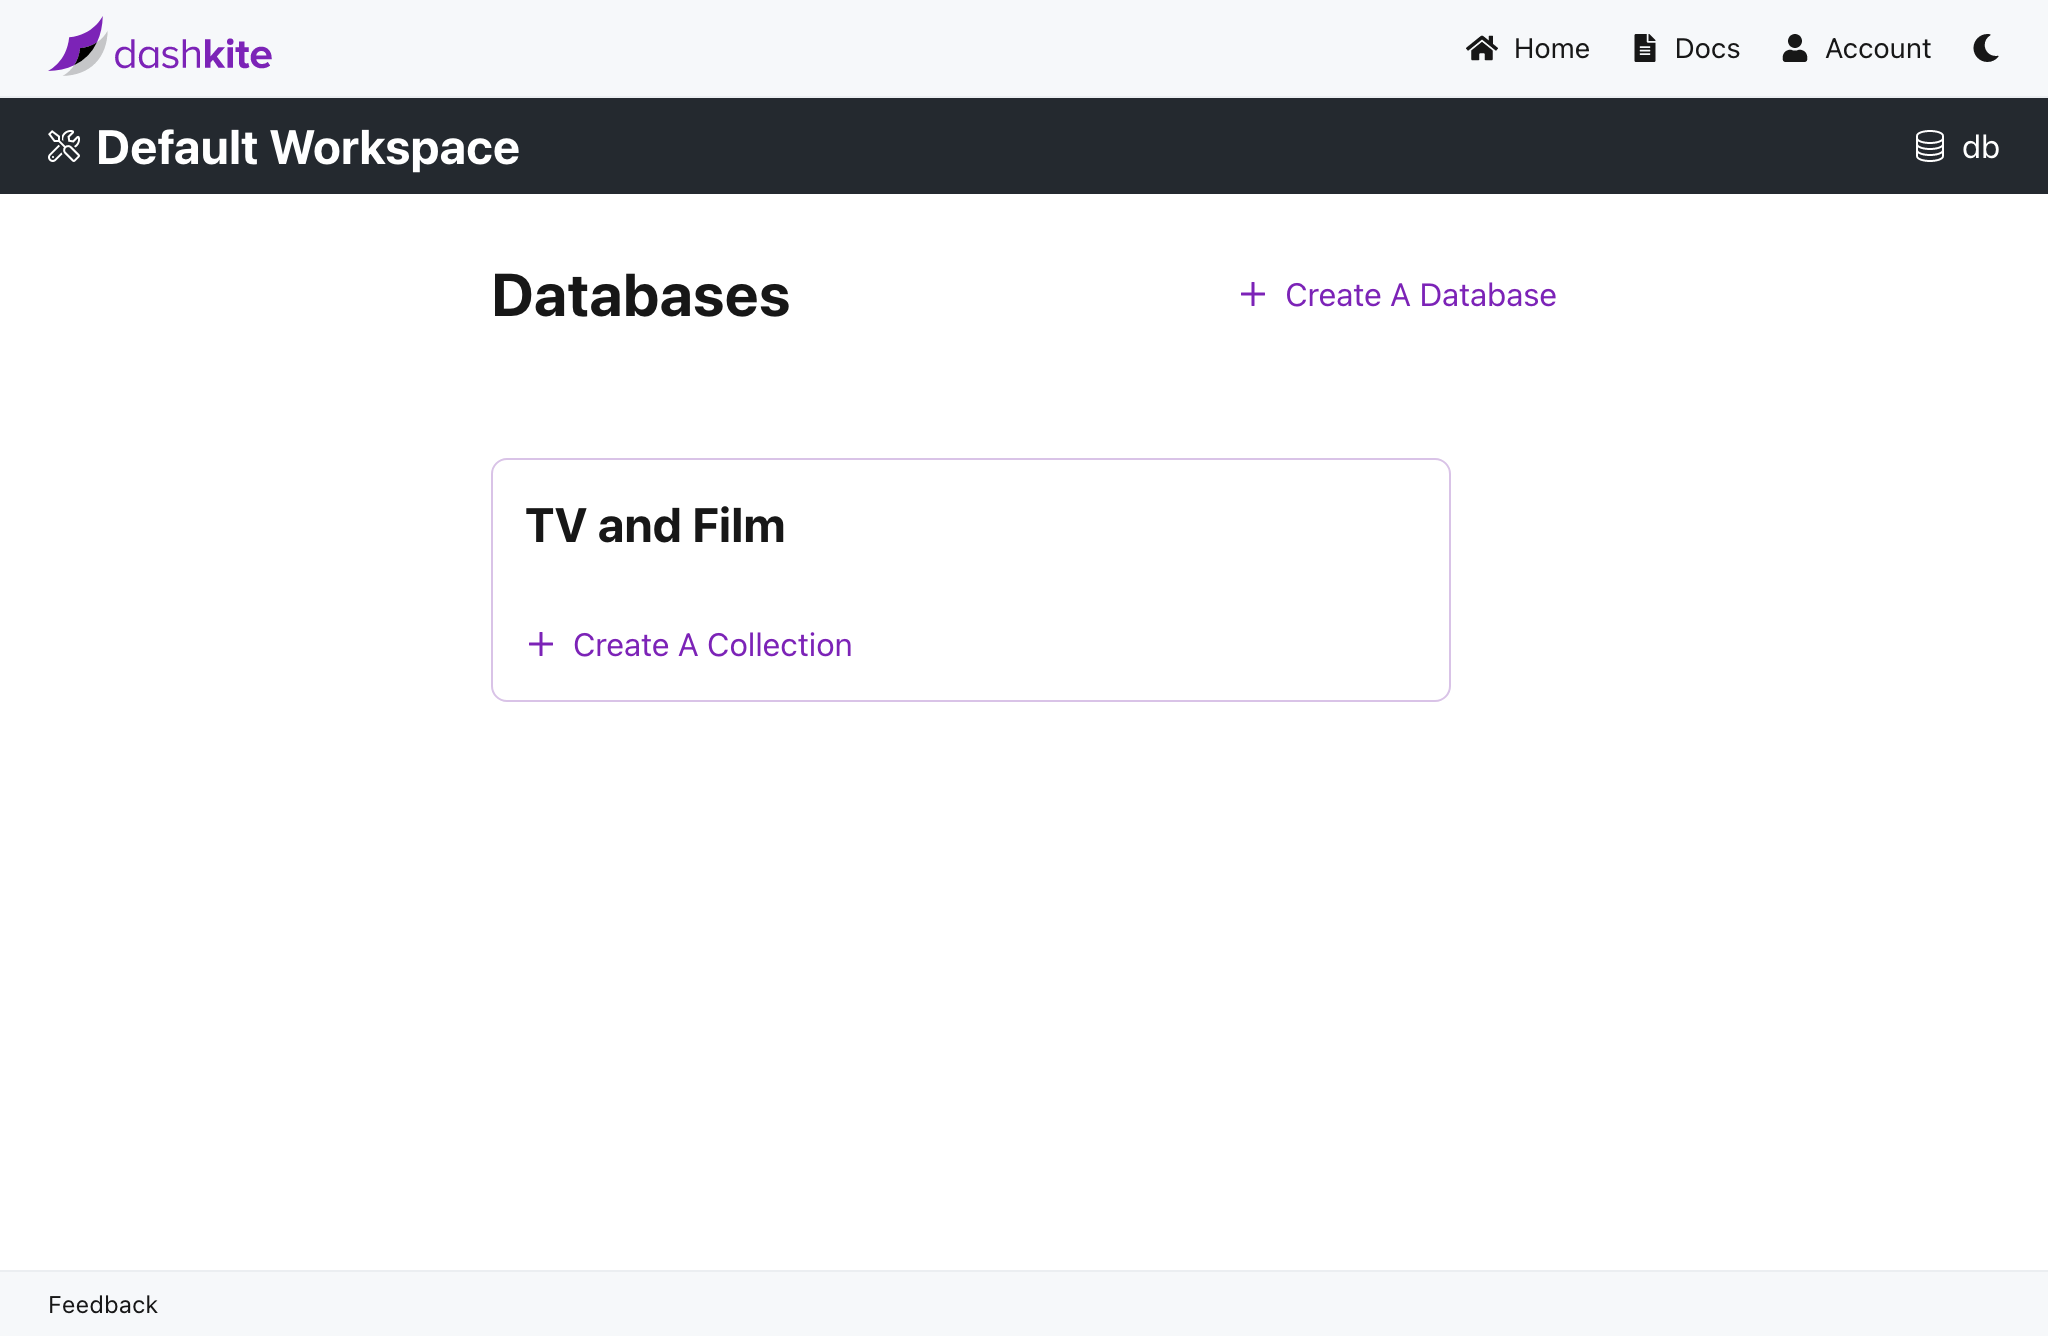
Listing Databases
- Navigate to a workspace and select DB.
- A list of databases for the given workspace will be shown.
#
Getting A Database
- Navigate to a workspace and select DB.
- Select a database to view its details.
curl -XGET "https://db.dashkite.io/db/{db}" \
    -H "Authorization: {api-key}" \
    -H 'Accept: application/json'
#
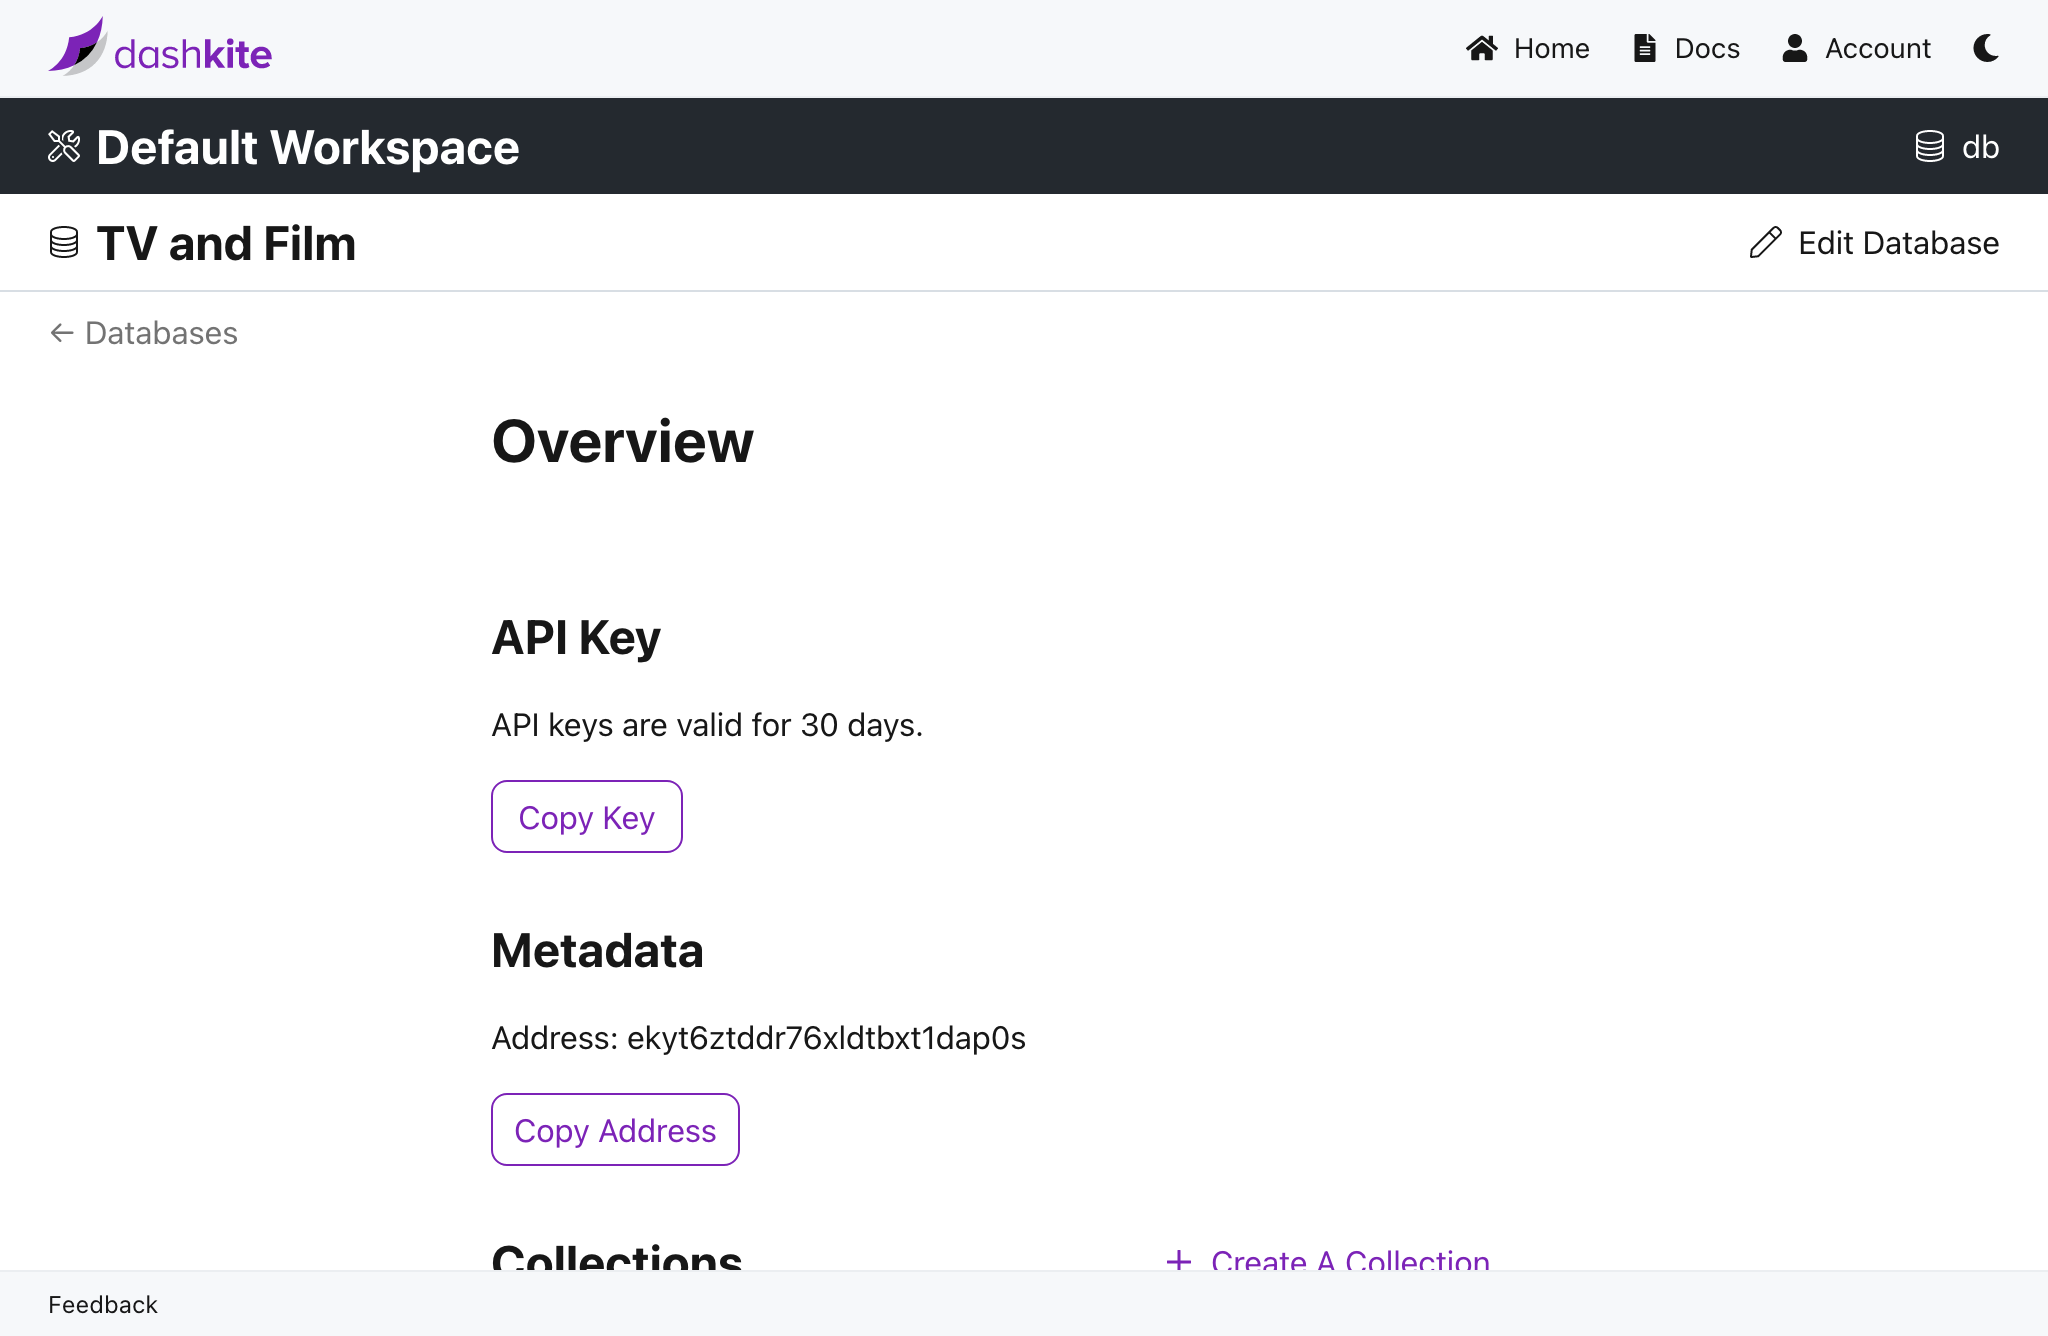
Getting The Database API Key
- Navigate to a workspace and select DB.
- Select the database for which you want a credential.
- Under API Key, select Copy Key.
Anyone can access your database if they have an API key. Avoid storing keys if possible, since you can always generate new keys. If you must store them, be sure to do so securely.
#
Getting The Database Address
- Navigate to a workspace and select DB.
- Select a database.
- Under Metadata, click Copy Address.
The database address is contained in the JSON response when you
#
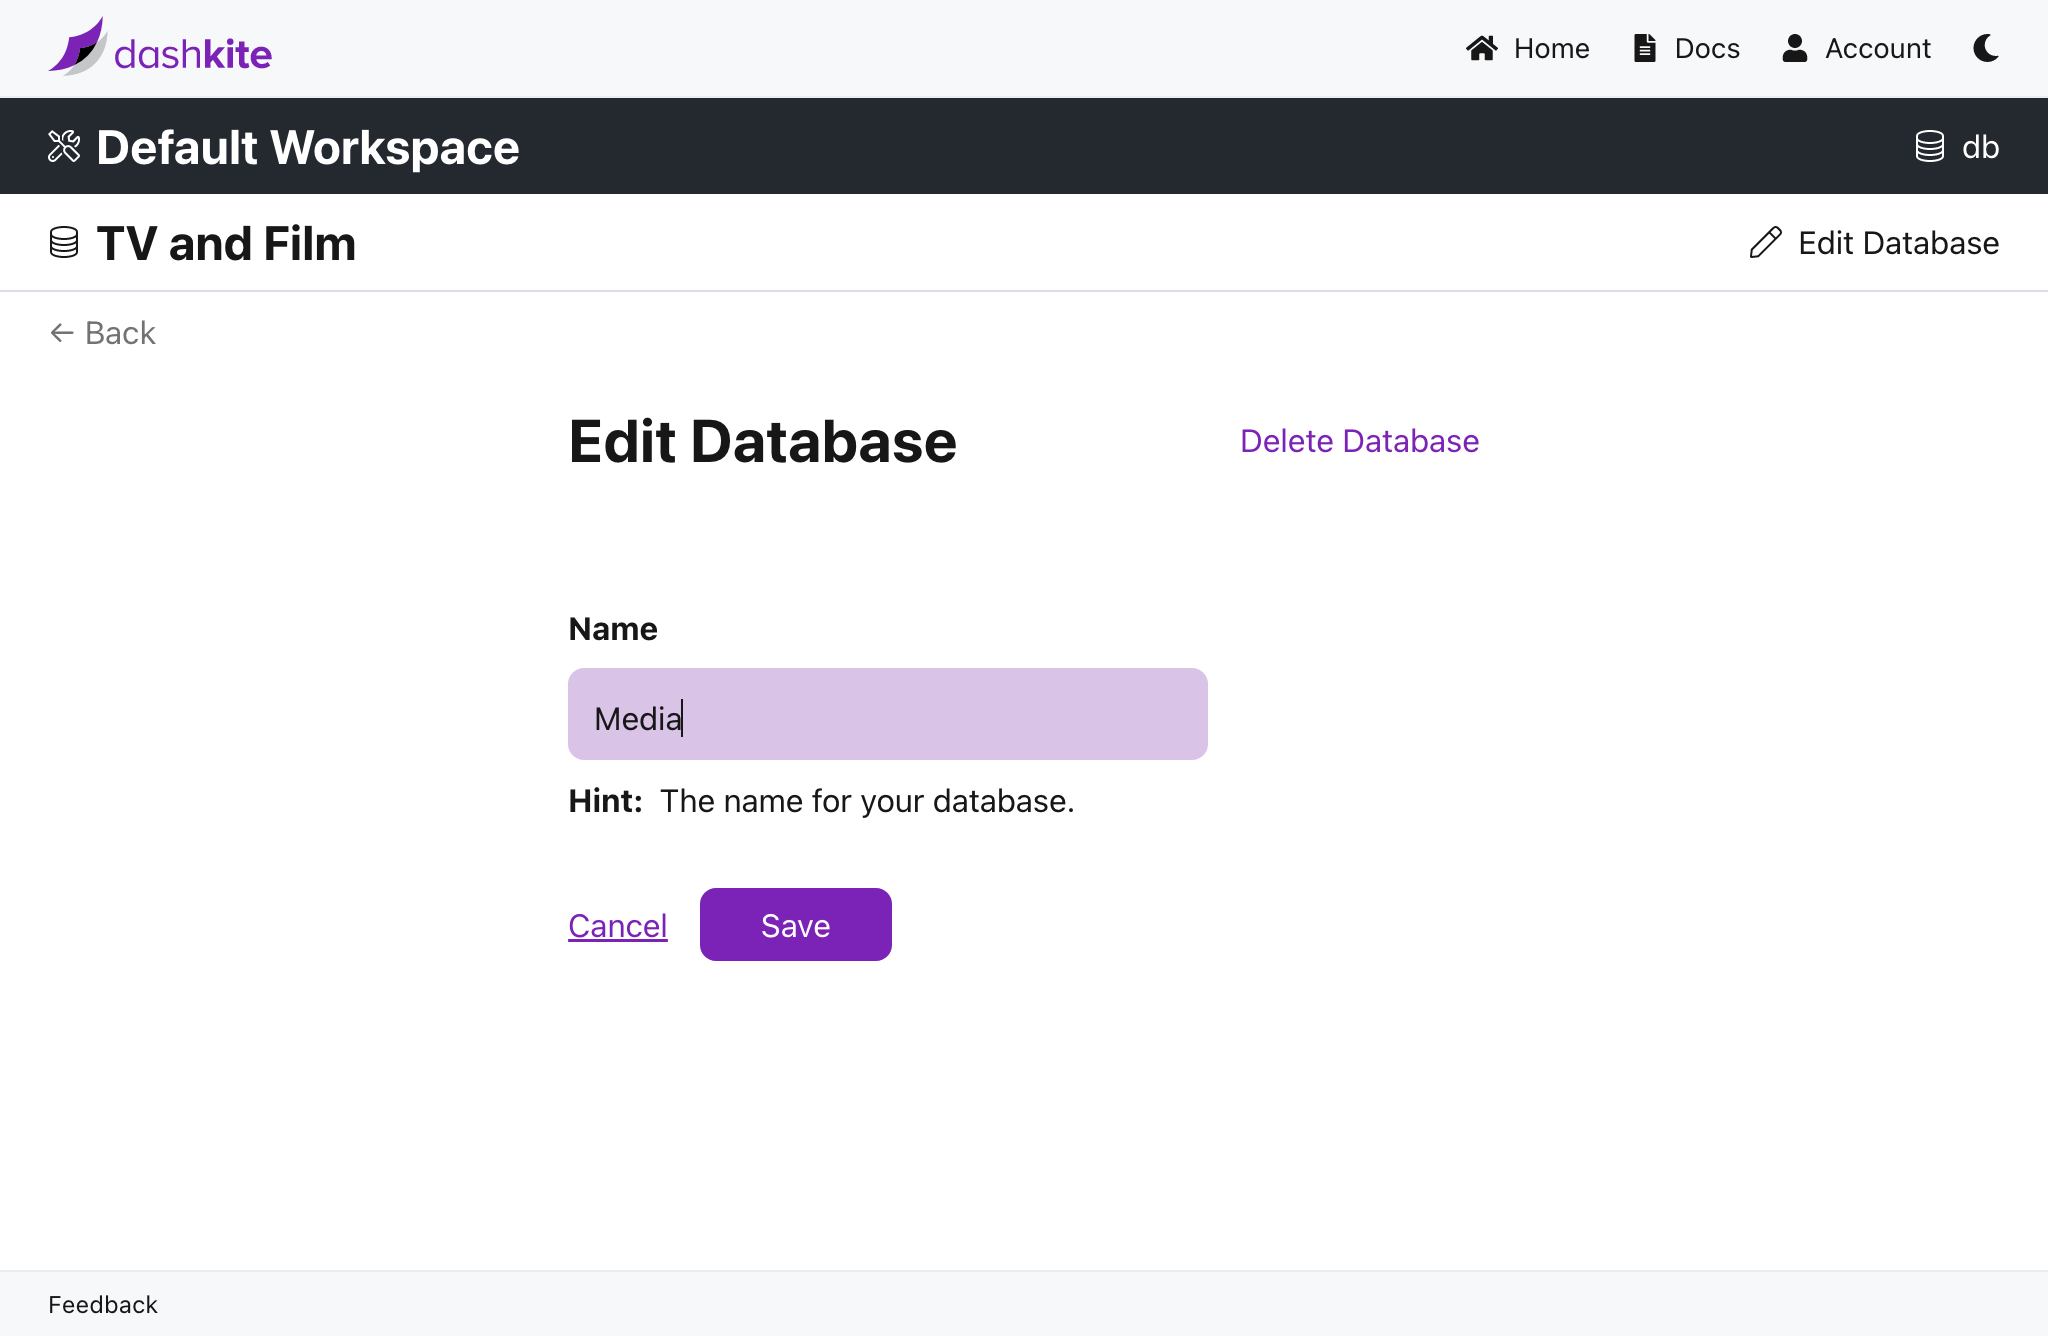
Updating A Database
- Navigate to a workspace and select DB.
- Select the database you want to update.
- Select Edit Database.
- Update the display name for the database. Ex:
films. - Select Save.
curl -XPUT "https://db.dashkite.io/db/{db}" \
    -H "Authorization: {api-key}" \
    -H 'Content-Type: application/json' \
    -d '{ "name": "{name}" }'
#
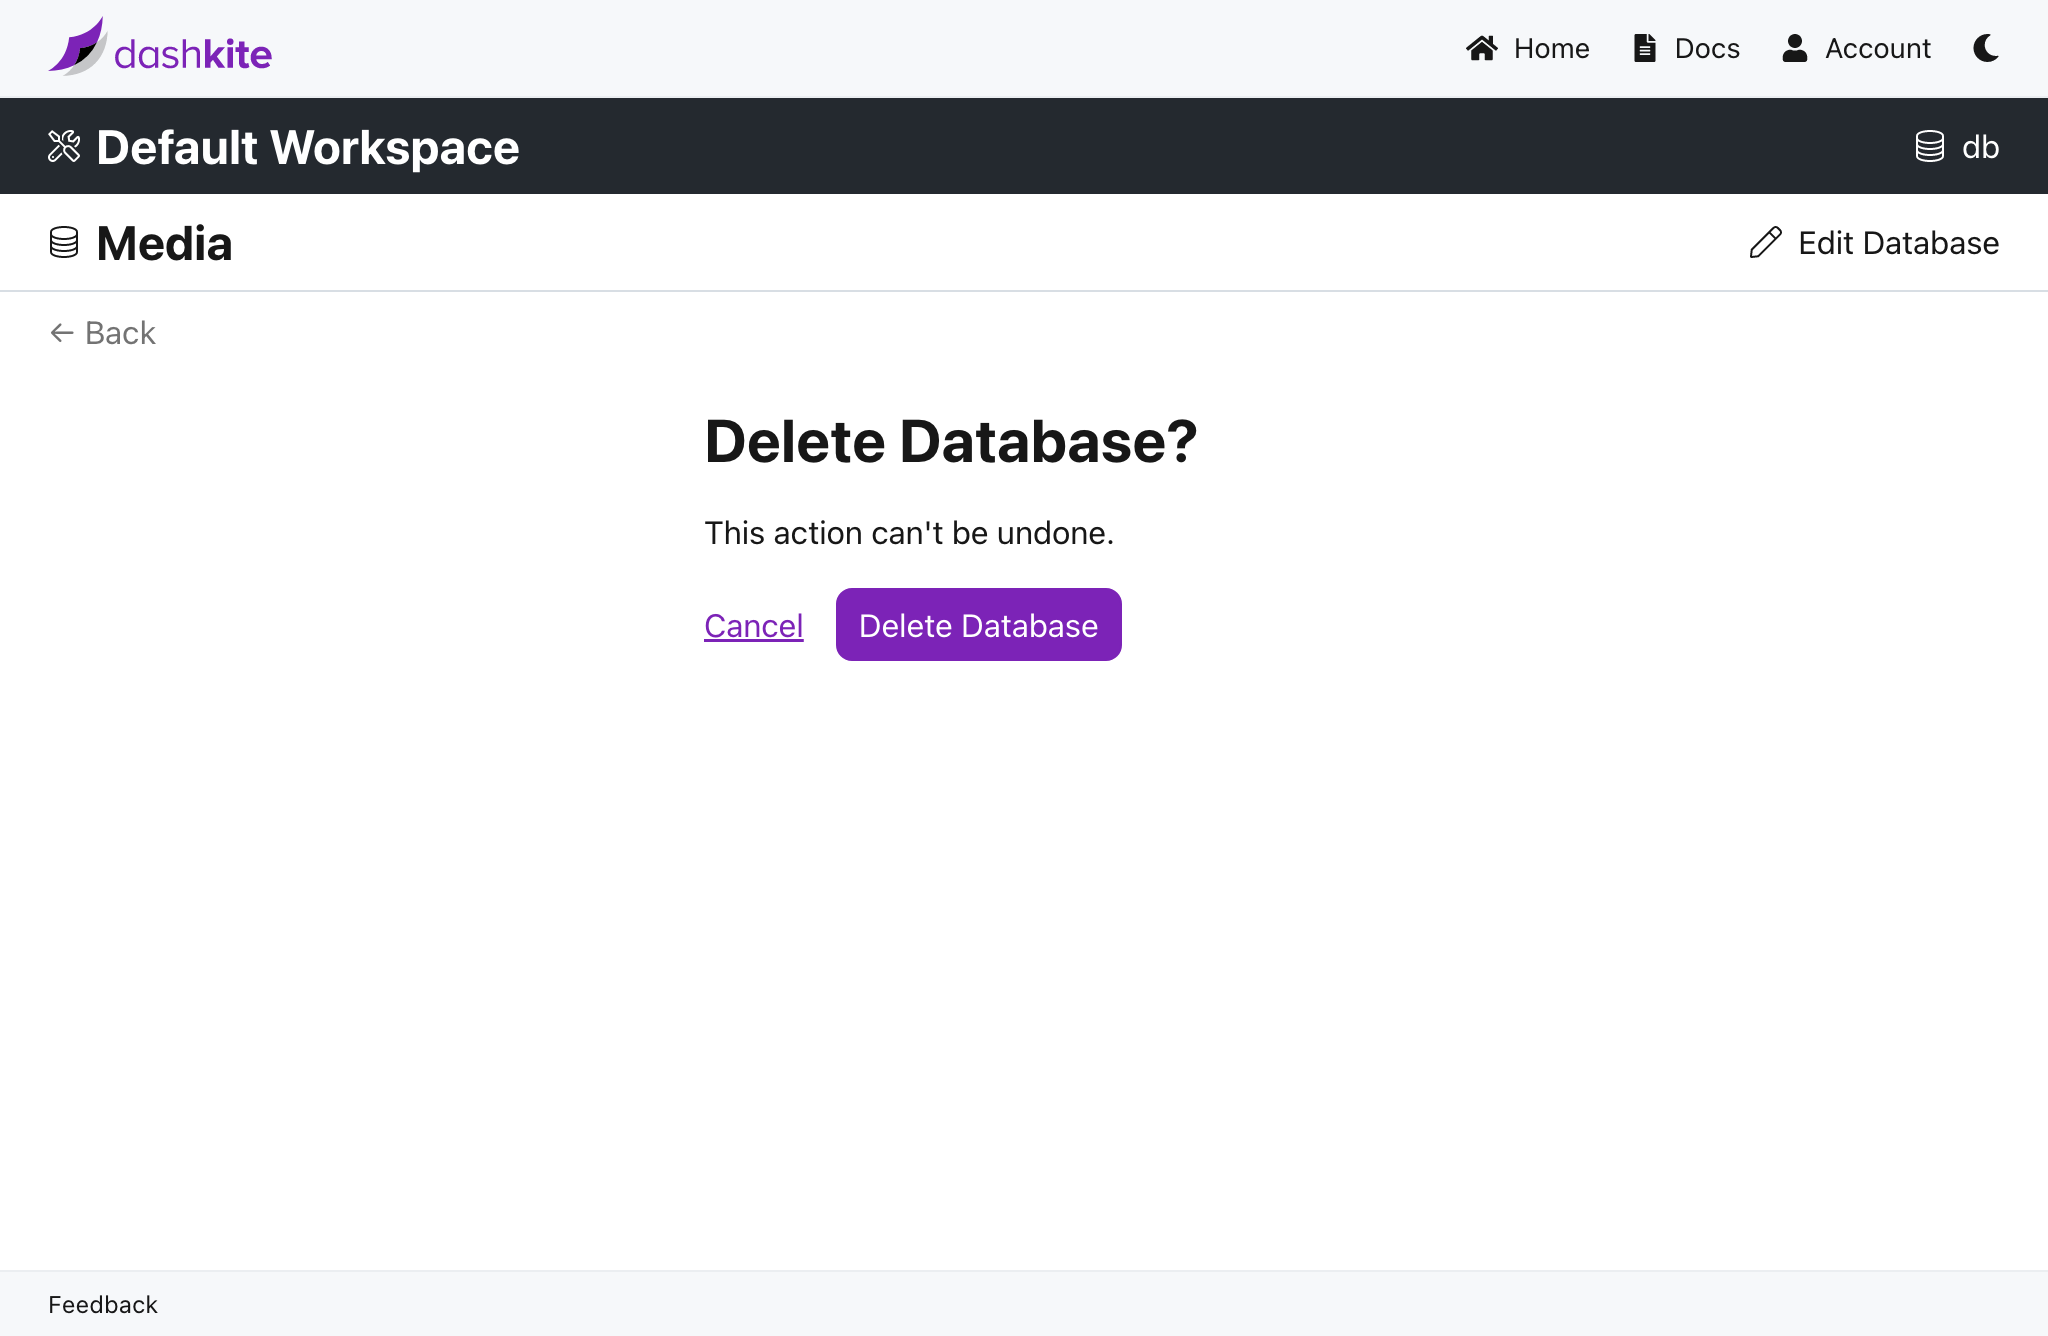
Removing A Database
- Navigate to a workspace and select DB.
- Select the database you want to update.
- Select Edit Database.
- Select Delete Database.
- Select Delete Database again to confirm.
Parameters you supply are delimited by angle brackets. Example: {db}.
curl -XDELETE "https://db.dashkite.io/db/{db}" \
    -H "Authorization: {api-key}"